myDevices Zapier App
The myDevices Zapier App allows you to keep device data synced between your business applications and the myDevices API. Zapier acts as a forwarding layer that watches for new device alerts and notifications, and will send updates to a configured business application destination.
Creating a new Zapier App integration (Zap)
- You will need a Zapier account. If you do not have one, click here and create one.
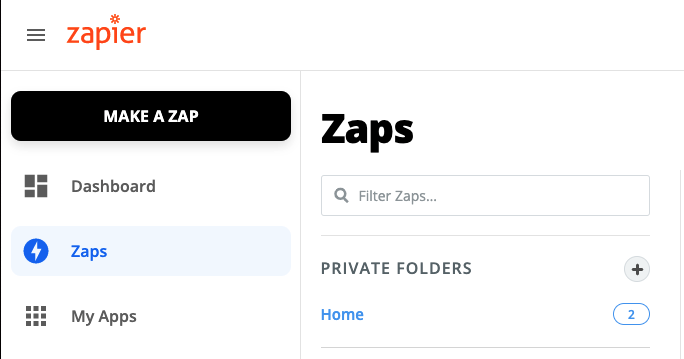
- Login to your Zapier account and click "Make a Zap" in the lefthand side.
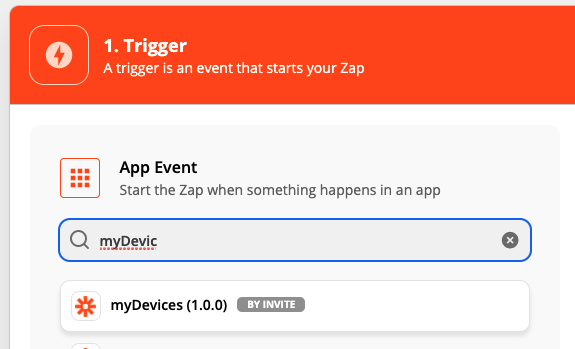
- In the "Trigger" module, search for the myDevices trigger (note: In this example the trigger is called myDevices Debug vA (1.0.0)).
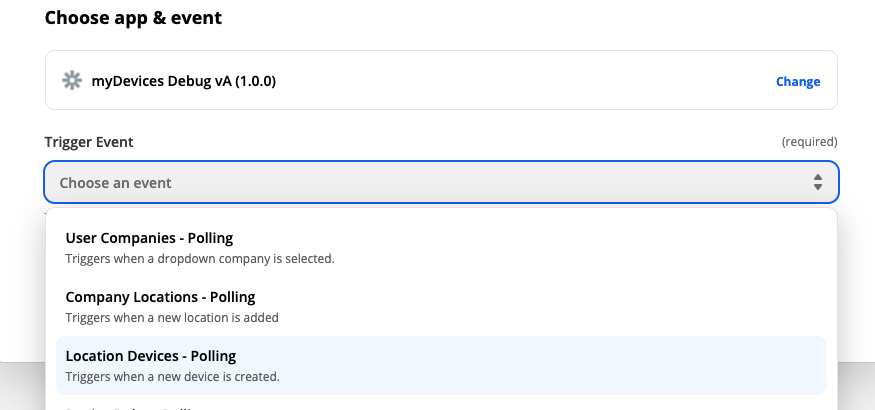
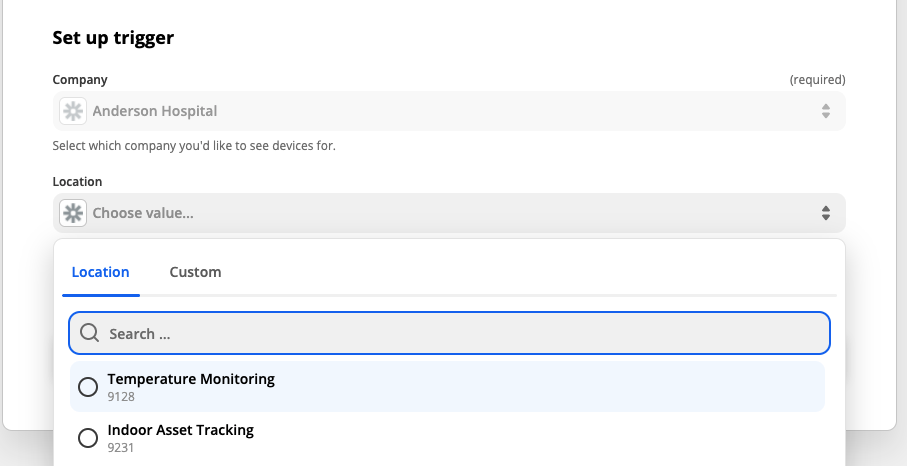
- Select the "Trigger Event" of interest and click Continue. In this example, we will track devices at a specific company location.
Select your authenticated account and click Continue.
Set up your trigger my making any required field selections, then click Continue. In this example, we need to select the target company and location that we want to monitor for new devices.
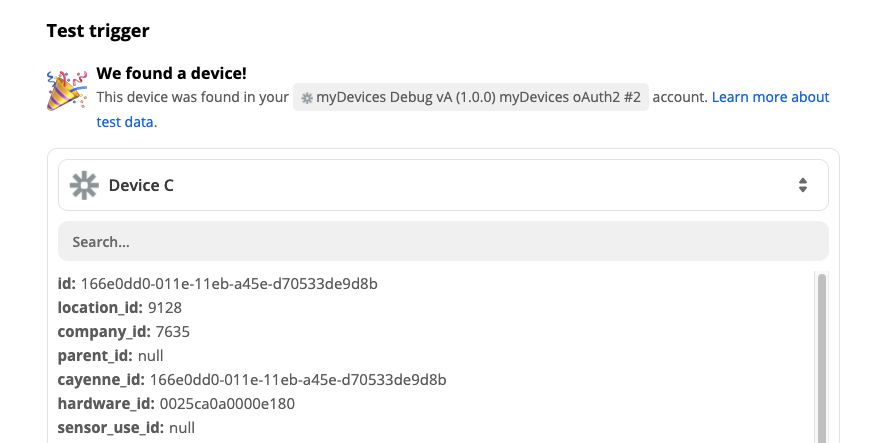
- In the next step, click Test Trigger to verify your integration can pull data successfully. If it's set up correctly, you should see a success notification similar to this image:
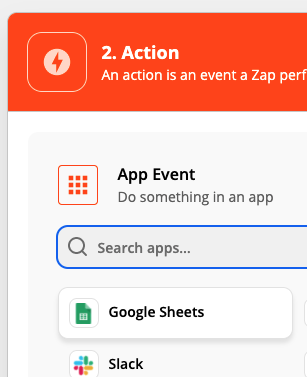
- Click Action, then Google Sheets to set up the target business app for the data to be sent to. In this example, we will create a new row in a Google Sheet each time a new device is discovered at a location.
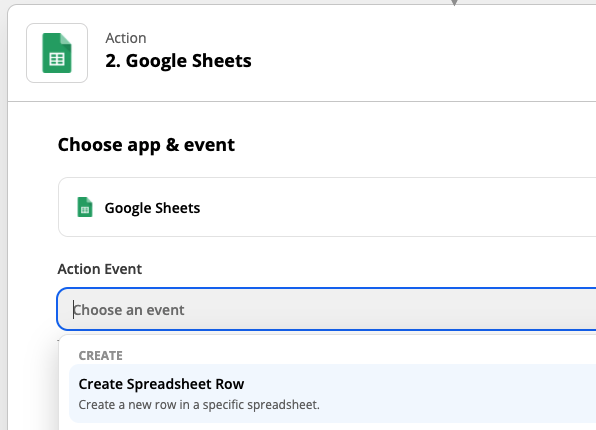
- From the events dropdown, select Create Spreadsheet Row, then click Continue.
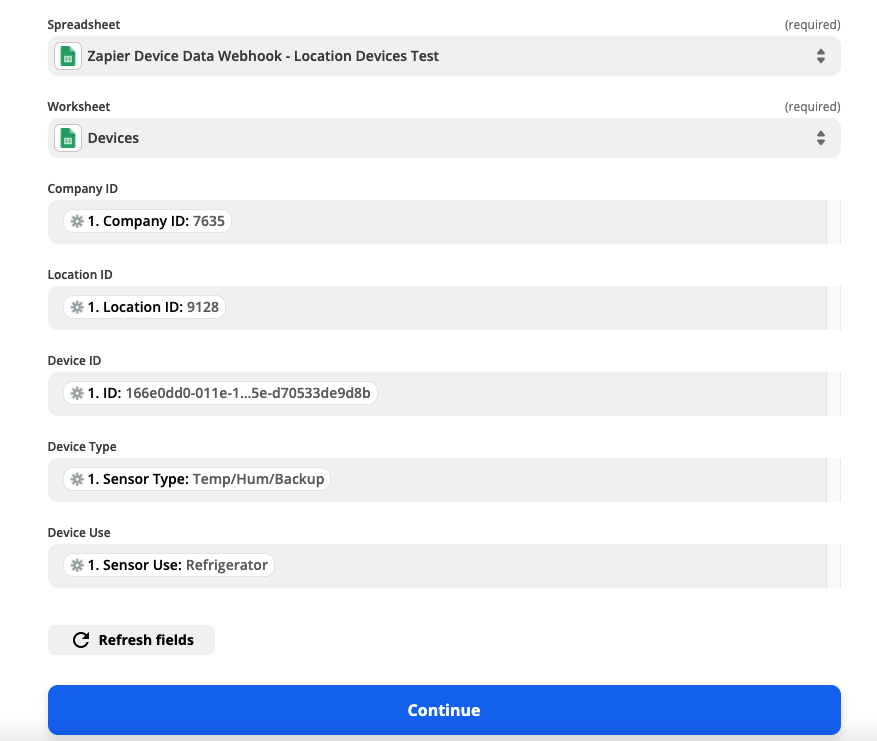
Select the target Google Sheets account, drive, spreadsheet, and worksheet to be updated.
Fill in the fields with matching values from the sample found by the trigger. Click Continue.
- Click Test & Review and, if successful, you should see a new row of data in the Google Sheet.


- Click Turn on Zap, and you're done.