ChirpStack
About ChirpStack
The ChirpStack open-source LoRaWAN Network Server stack provides open-source components for LoRaWAN networks. Together they form a ready-to-use solution including an user-friendly web-interface for device management and APIs for integration. The modular architecture makes it possible to integrate within existing infrastructures. All components are licensed under the MIT license and can be used for commercial purposes.
Using ChirpStack with myDevices
myDevices makes it easy to use your LoRa device and the ChirpStack network. You will need to:
- Create / Log into your account on the myDevices's LoRaWAN server portal
- Setup gateway device
- Create an Application
- Create an Integration
We will walk you through these steps in the following sections.
Login or Create your ChirpStack account
To create your ChirpStack account, visit the Missing Account Page and click on Try or the button MISSING to begin the process of creating your account.
Once your account has been created, you can log into your account on the myDevices LoRaWAN server from the portal.
After logging into your account you will see the myDevices ChirpStack dashboard page. You will primarily use the Applications screen for the remainder of the documentation when configuring your account and devices to communicate with myDevices. To access this screen, locate the tabs on the lower left side of your screen.
Make sure to create an user profile if you have not done so under Org. Users.

Setup gateway device
In order for your LoRa devices to connect to the ChirpStack network, you must have purchased and configured a gateway device. When using the ChirpStack network, we recommend that you purchase and configure one of the following gateway devices:
- For use in the European Union, we recommend the Multitech Conduit EU868
- You can purchase a Multitech Conduit EU868 here.
- For use in the United States of America, we recommend the Multitech Conduit US915
- You can purchase a Multitech Conduit US915 here.
Be sure that you have an appropriate ChirpStack gateway configured and working before continuing. Your devices will not be able to properly function without your gateway device in place.
Create Application
In order for data from your device to reach myDevices, you must create an Application in the ChirpStack. Begin by selecting the myDevices-sandbox from the toggle list of uses, then selecting the Applications tab and creating a new Application.
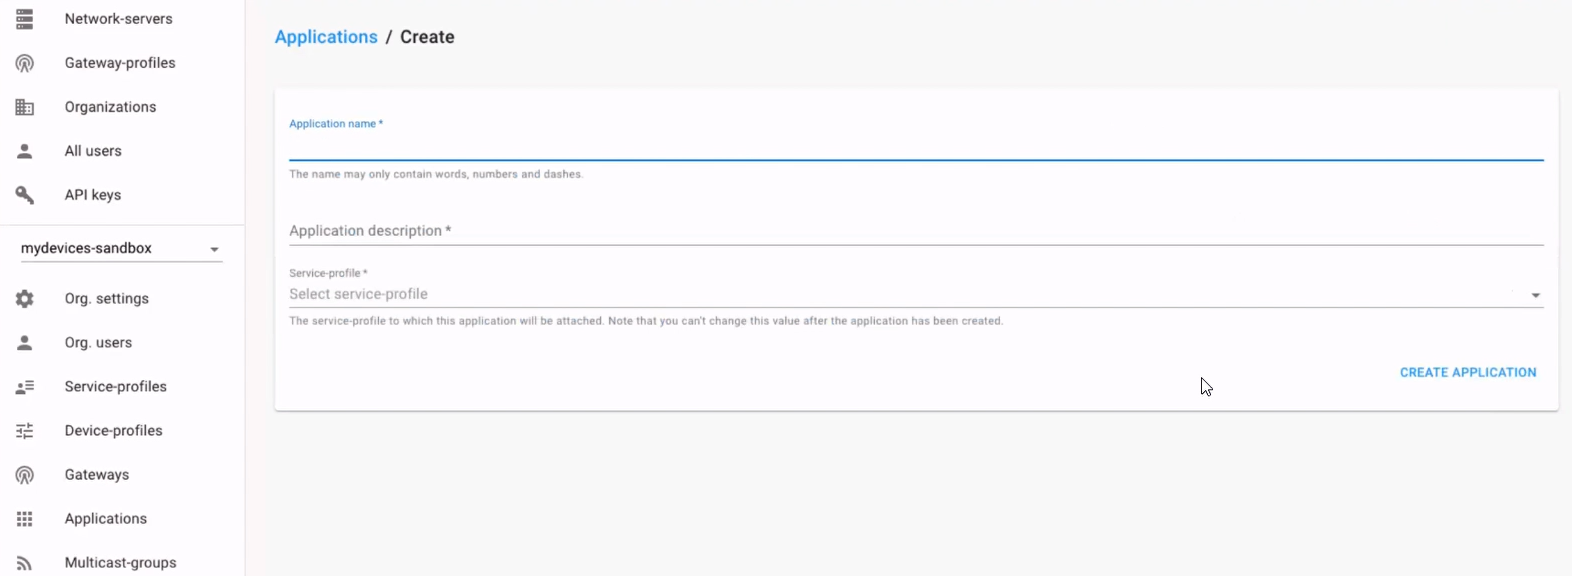
- Name: Enter the Name for your application. Give it an appropriate name that you can refer to later.
- Application Description: Enter the Description for your filter.
- Service-Profile: Select the profile for your application. Here we select Default
 After selecting Create Application and saving your changes, you should see the newly created application on the Applications list.

Create an Integration
Under the Applications tab, select the desired application for which to create an integration and select the Integrations tab to create a new integration.
Note: This next step assumes a version of ChirpStack 3.10 and above. You can choose the Integration Kind directly with myDevices.com.
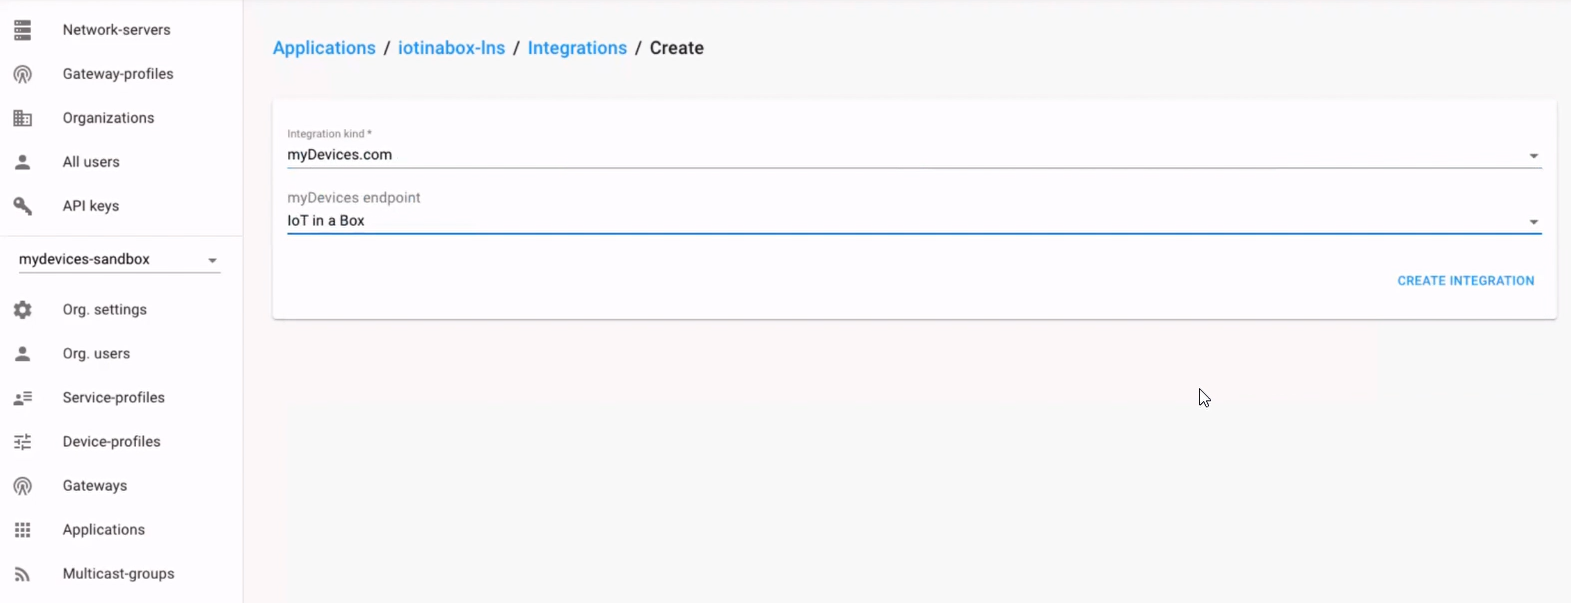
- Integration Kind: Select myDevices.com.
- myDevices endpoint: Select IoT in a Box.
Once you create the Integration, it should appear in your Integrations List, and your set-up is complete. Whenever your device sends data, it will be relayed to the myDevices application.