Senet Network
Senet Network
About Senet
Senet, a contributing member of the LoRa® Alliance, is the first and only public provider in North America of low-power wide-area networks (LPWANs) with its class-leading LoRa® modulation for IoT and M2M applications.
Using Senet with Cayenne
Cayenne makes it easy to use your LoRa technology device and the Senet network. You will need to:
- Create / Log into your account on the Senet portal
- Setup gateway device
- Register your device on the Senet portal
- Setup traffic for myDevices
- Setup traffic forwarding to Cayenne
- Program/Flash your device
- Add your device to your Cayenne dashboard
We will walk you through these steps in the following sections.
Create account
To create your Senet account, visit the Senet Portal. Click on the Create New Account to get started.
Setup gateway device
In order for your LoRa technology devices to connect to the Senet network, you should purchase and configure a gateway device. When using the Senet network, it is recommended that you use a MultiConnect Conduit gateway device. You can find links to an appropriate version of this device on the Multitech MultiConnect Conduit page.
Be sure that your devices are covered by the Senet network, including having an appropriate gateway configured and working if needed, before continuing. Your devices will not be able to properly function without your gateway device in place.
Registerew gateway device
If you need to register a new gateway device, the Senet portal has instructions and the software for doing so. To begin this process, log into your Senet account and click on the Register Devices button. Select Gateway from the dialog that appears to begin the process of adding your gateway device.
Note: Currently only the MultiTech Conduit gateway can be registered through the Senet Portal.
The Register Gateway dialog that appears will walk you through the process of adding your gateway device. You can refer to Senet's own gateway documentation if you need help with this step.
Manual register device
Before you can use your LoRa technology device on the Senet network, it must be registered on the network using the Senet portal. The following information will help guide you through this process.
Log into the Senet portal
Start by going to the Senet portal. and logging into your account. Once logged in, you can proceed with registering aew device.
Register new device
To get started with a new device, click on the Register Devices button. From the dialog that appears, select the Device option.
From the Register Device dialog that appears, enter in the Device EUI (or allocate one from here) and a description for the device. Click Register New Device to complete registering the device.
Your device will now appear in the list of devices shown on your dashboard. You can now setup device forwarding to Cayenne.
Forwarding Traffic to myDevices
- In the Senet Portal, go to Device Setup
- Select HTTP Post for Forward To
- Packet Format is JSON
- Set URL to:
https://hub.m2c.io/v1/networks/iotinabox.senet/uplink - Under headers set key
x-subscription-keyand header value to the provided key. Contact support for a subscription key.
Setup device forwarding to Cayenne
In order for Cayenne to be able to able to receive your device’s information, you will need to setup packet forwarding. To do so, expand the settings for the device and click on the cogwheel icon. The Edit Device screen appears.
TIP: Alternatively you can click on the device tile itself and then select the cogwheel icon that also appears on the Device screen.
From the Edit Device dialog we can setup the device so that it forwards data to Cayenne. To do so, perform the following:
- Select the NOTIFICATION TARGET tab. This will expose the fields needed for forwarding.
- Open the Forward To dropdown and select the myDevices Cayenne profile.
Before data will begin forwarding, be sure that the Status slider is set to Enabled.
Make sure that the RF Data checkbox is selected to see signal strength data for your device in Cayenne.
- Click Save to save the changes.
Programming the device
Some devices will come from your device supplier preprogrammed and ready to be used immediately. Other devices will require you to program the device manually. If your device is preprogrammed, it can now be deployed and connected to the network for usage.
If your device needs to be programmed, you should now proceed with programming/flashing the device. Because this process is different for each device, you should refer to the instructions for your device for any specific information you need to perform this step. If you need help, you can refer to the Supported devices section where you will find Product page, Datasheet and User Guides for your device.
NOTE: Be sure that your device is programmed and properly connected to the network at this time. Only after your device is programmed, online and properly forwarding data should you proceed with adding your device to Cayenne.
TIP: You should see data being reported on the Senet portal's device list for your device. If you doot, double check the values entered for your device and consider programming/flashing the device again.
Add device to Cayenne
Once your device has been registered, programmed, configured to forward data to Cayenne and is online, you can proceed with adding the device in Cayenne so that it appears in your dashboard.
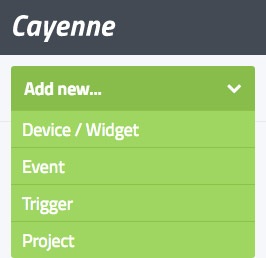
From the Cayenne dashboard, click Add New > Device / Widget.

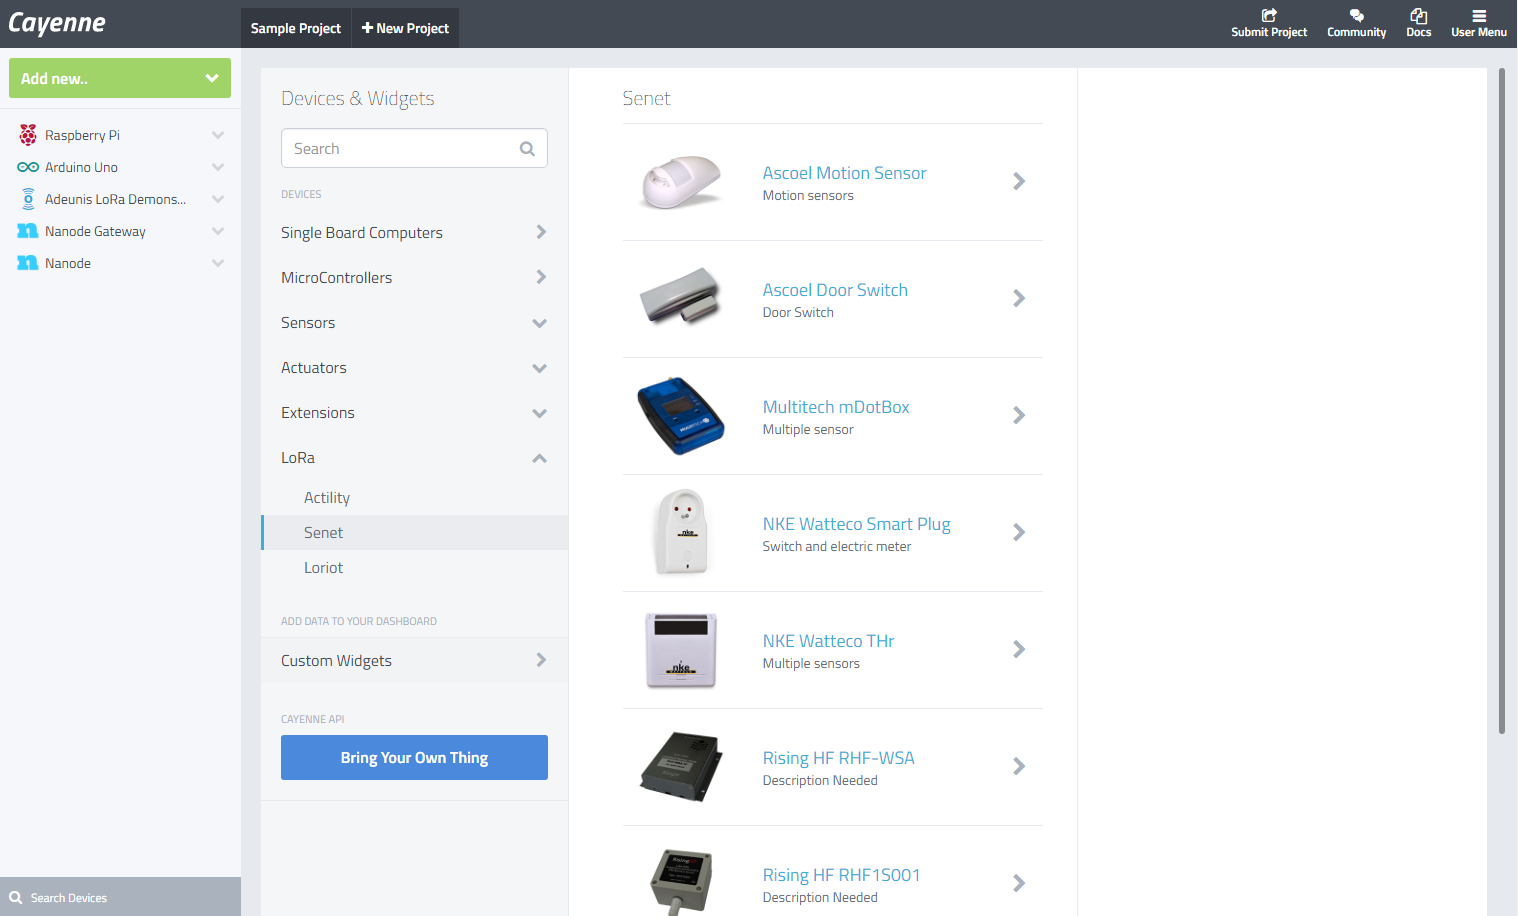
From the list of devices & widgets that appears, click LoRa and select the Senet Network option to view a list of Senet supported devices.

After selecting the device that you wish to add, settings for that device will appear. In the following section, we’ll walk you through the settings needed for adding a previously registered device.
Already Registered
Once your device has been previously registered on the Senet network, it can be quickly & easily added to Cayenne. Once added, your device and all of its sensors will appear in your dashboard.
Items you will need:
- Which LoRa technology device is being added?
- Your device will need to have been previously registered on the network. Refer to Manual device registration if you need help with manually registering your device on the network.
- What is the unique DevEUI for the device being added?
- What is your unique Senet account API Key?
To see how easy it is, let’s walk through an example of connecting an Multitech mDotBox which was previously registered under a Senet account.
1. Choose the Network Make sure the Senet network is selected in the list of Networks.

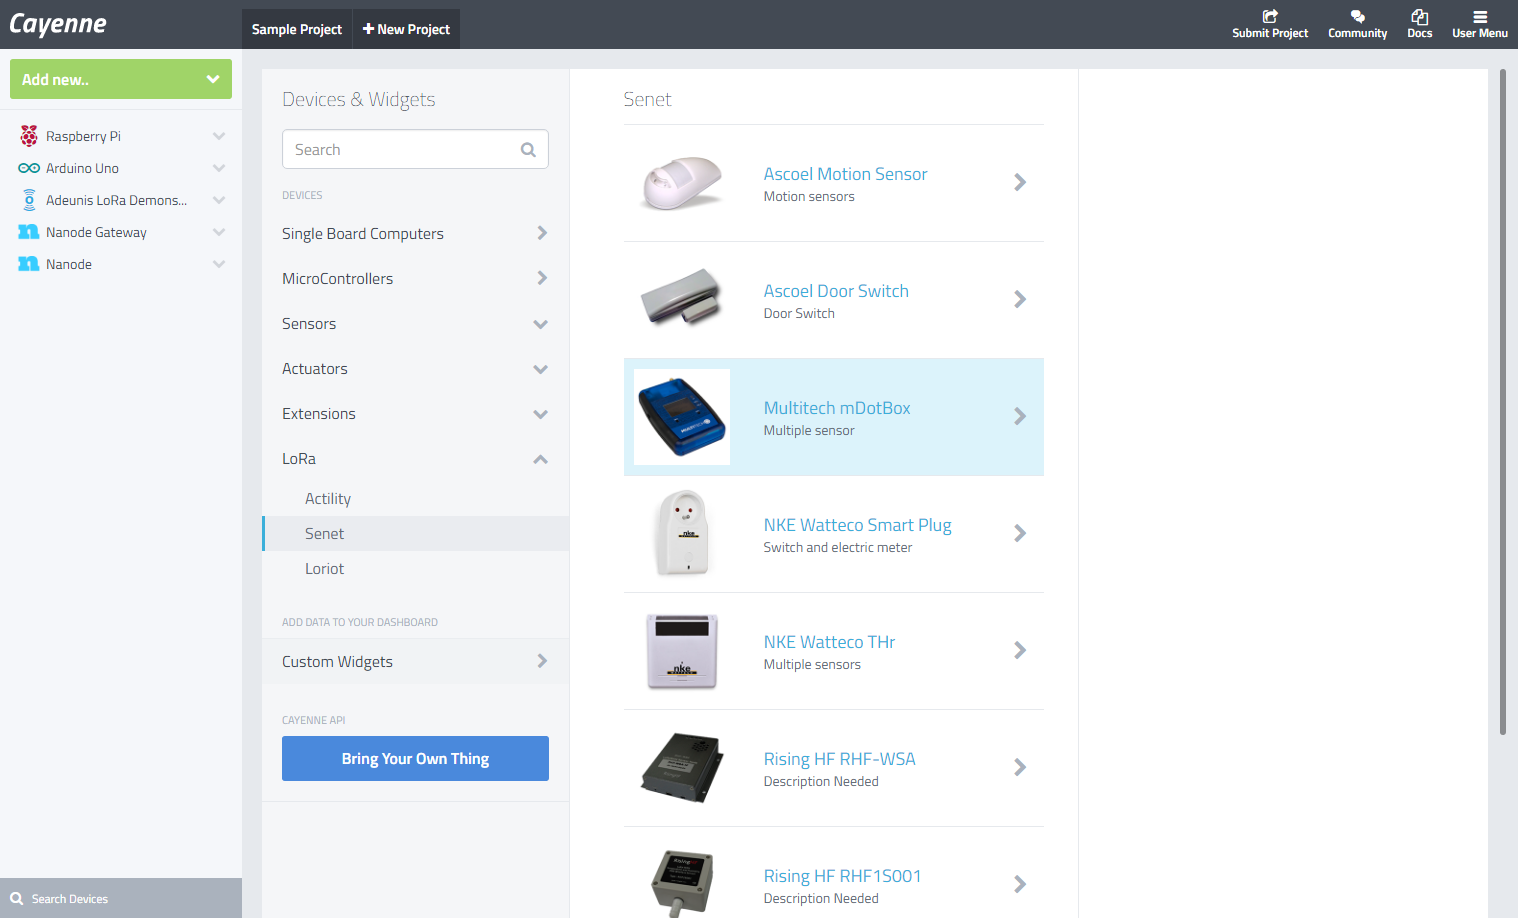
2. Select the Device Select your device from among the list supported Senet devices. In this case, we’ll select the Multitech mDotBox.

3. Enter Settings & Add device In order to add the device, Cayenne needs to know some information about the device and how it will be shown on the dashboard.
Give the device aame. In our case, we’ll enter “mDotBox” in the Name field.
Enter the DevEUI for this device into the DevEUI field.
Our device has been previously manually registered with Senet. Make sure “Already Registered” is selected in the Activation Mode field.
Enter your unique Senet Account API Key for your Senet account. This will allow Cayenne to send downlink commands to your device.
TIP: If you have not generated your API Key it can be found on the Senet Portal under your Account Information.
Note: Once generated on the Senet Portal, your API key is not shown to you again. Be sure to copy & save off your API key for later reference! Failing to do so may cause you to need to regenerate your key. If you do so, remember that you will need to update the settings for all previously added devices in Cayenne as well.
- Click Add device.
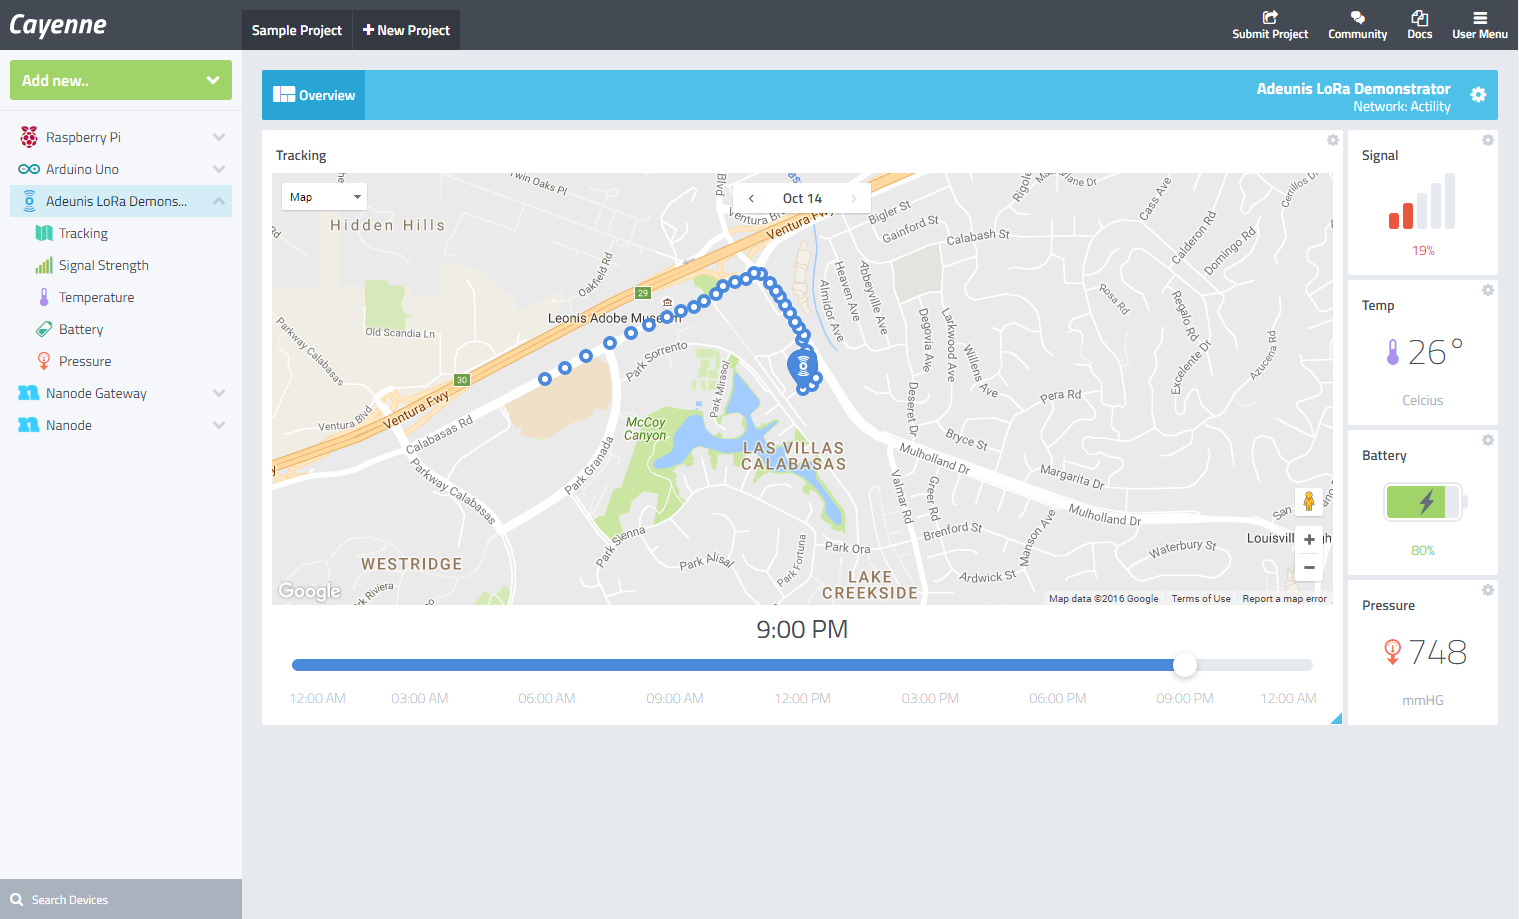
The Multitech mDotBox device has been added to your dashboard and Cayenne will automatically add widgets for the sensors on the device. You can now track the location of your device as well as examine the current status of the various sensors on the device.
