Azure AD
Configuring Azure AD with myDevices as an Identity Provider is possible by using SAML or OIDC. Both protocols requires the user to setup an Application under Azure portal.
SAML 2.0
Follow the steps below to setup in Azure AD with myDevices.
Prerequisites
- Azure Premium Active Directory Tenant
- myDevices Platnium Partner
Register Application in Azure AD
Login to the Azure Portal and go to Azure Active Directory and "Enterprise Applications". You may also search for "Enterprise Applications" on the top search bar.

Click on New Registration and fill out the information requested and click on "Register".
- Redirect URI should be the following:
https://auth.mydevices.com/auth/realms/REALM/broker/saml/endpoint - Replace
REALMwith your white label name

- Redirect URI should be the following:
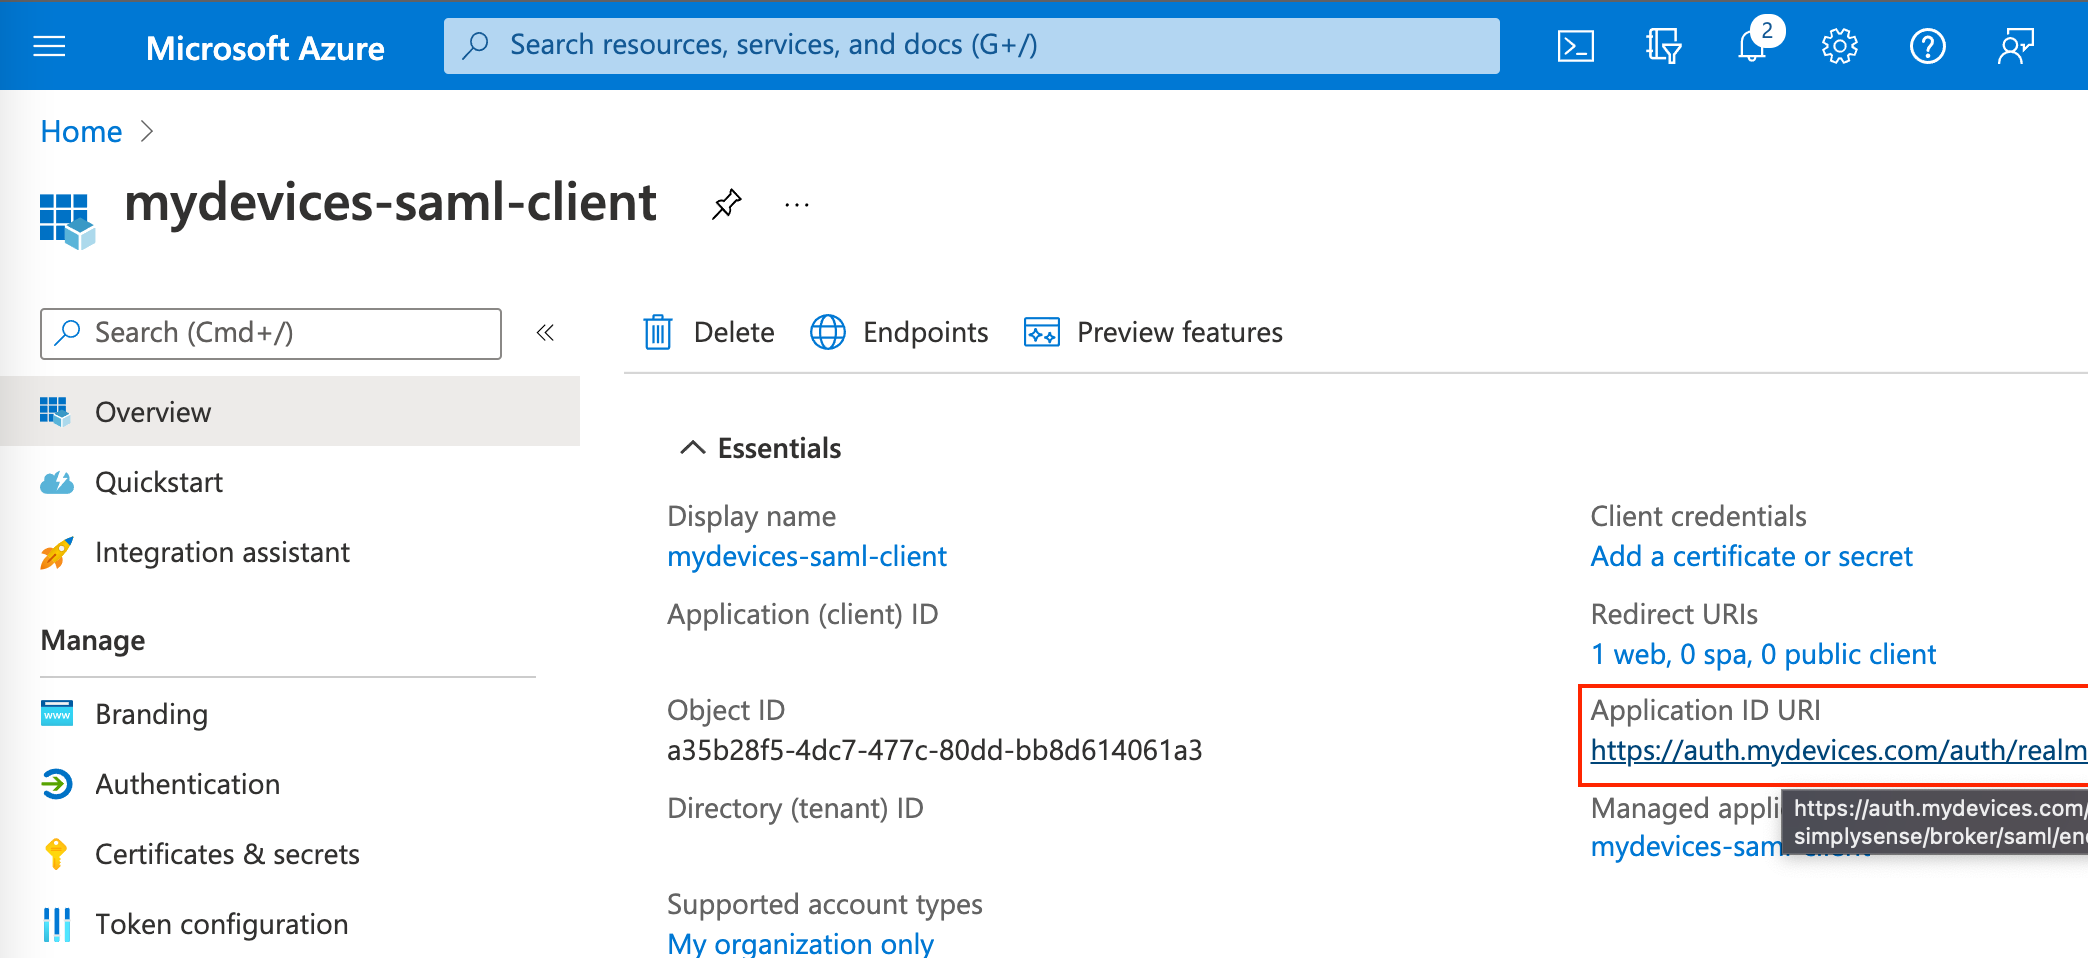
Once the application is created, set the Application ID URI to the following URI:
https://auth.mydevices.com/auth/realms/REALMreplaceREALMwith your White Label Id.
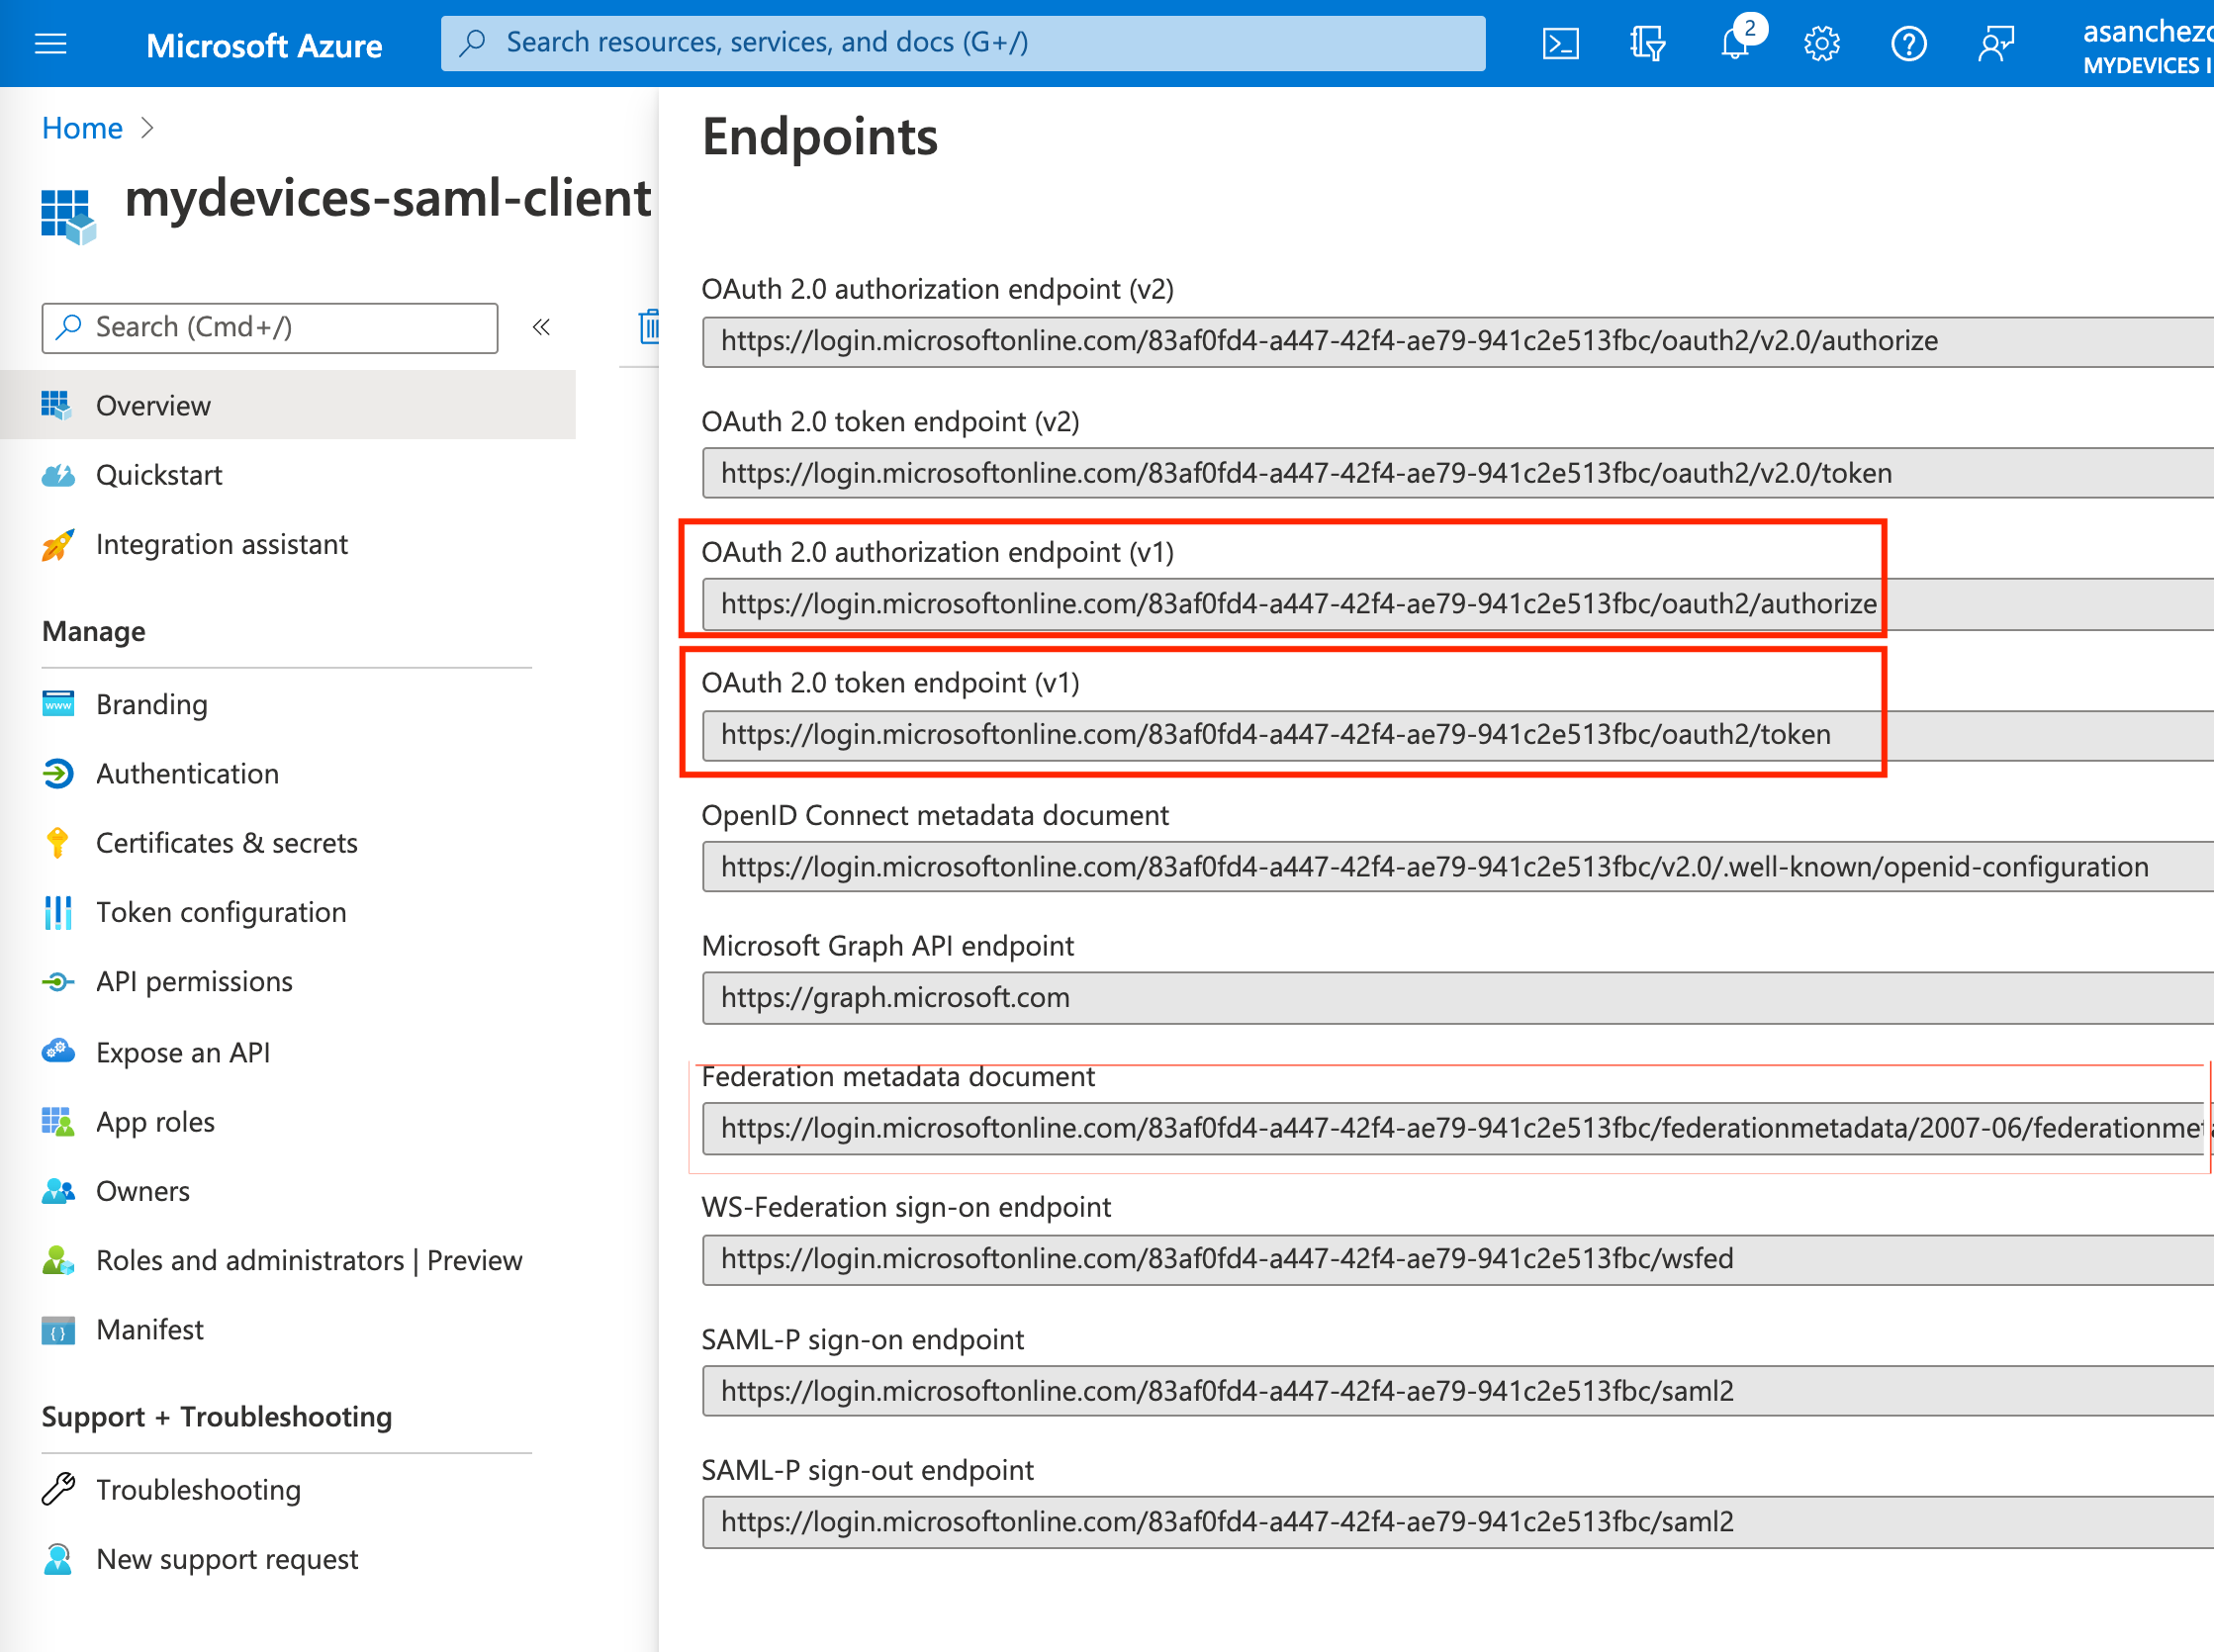
Finally, copy the Federation metadata document under Endpoints.
- Provide myDevices team the Federation metadata document Url.

- Provide myDevices team the Federation metadata document Url.
OIDC
Follow the steps below to setup in Azure AD with myDevices.
Prerequisites
- Azure Active Directory Tenant
- myDevices Platnium Partner
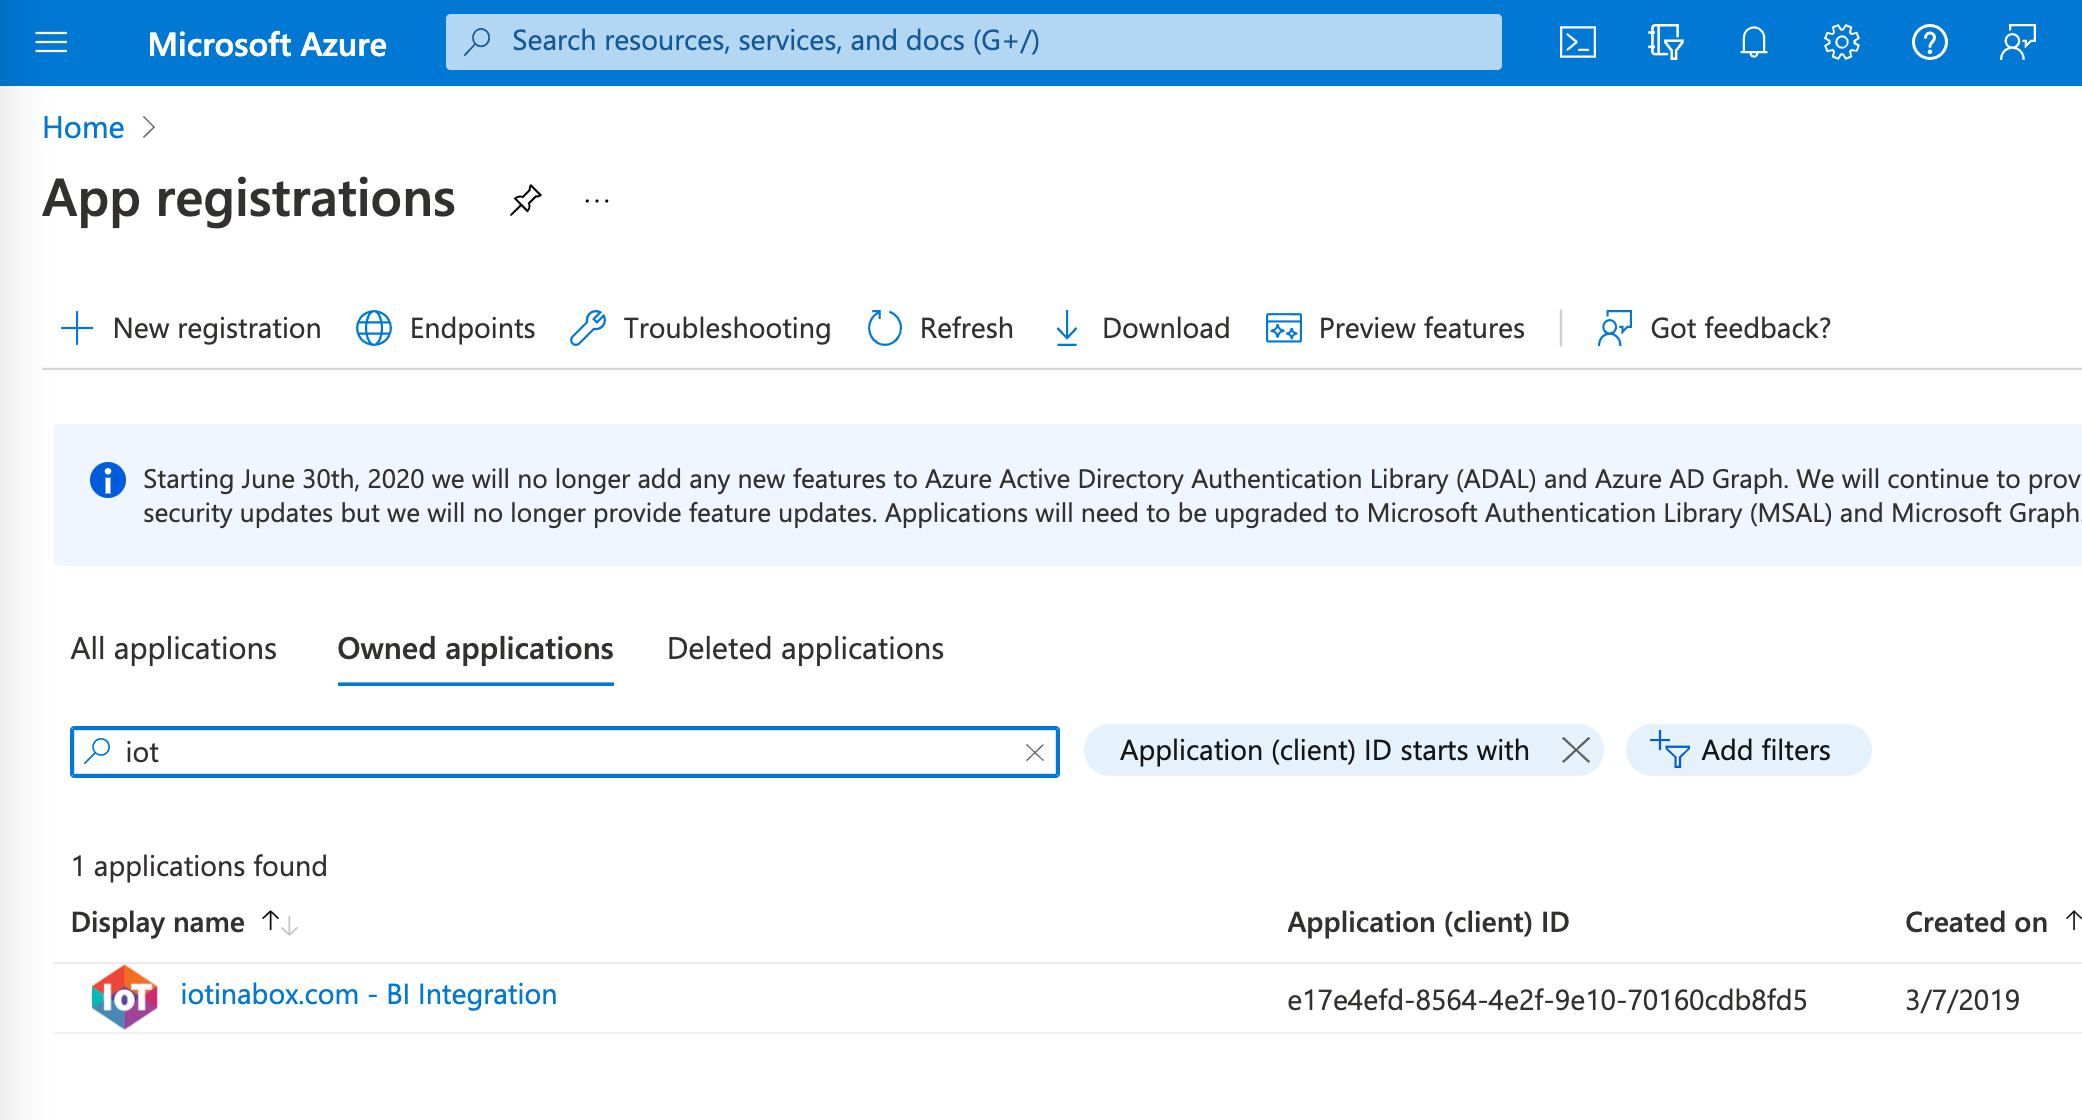
- Login to the Azure Portal and go to Azure Active Directory and App Registrations. You may also search for "App Registrations" on the top search bar.

Click on New Registration and fill out the information requested and click on "Register".
- Redirect URI will be provided by myDevices
Click on 'Overview' and then 'Endpoints'. You may send us the 'OpenID Connect metadata document' link or the Token & Authorization URL.

Copy the Token and Authorization URL and provide this to the myDevices support team.

Send us the Application ID from the 'Overview' page

Click on the 'Certificates & Secrets' Tab and then click on 'New client secret' to create your token.

Send us the 'Value' before refreshing the page
