Azure Event Hubs
To setup this integration follow the steps below to configure Event Hubs event on the Azure cloud.
Note: This integration requires a valid Microsoft Azure account.
Creating a new Azure Event Hubs integration
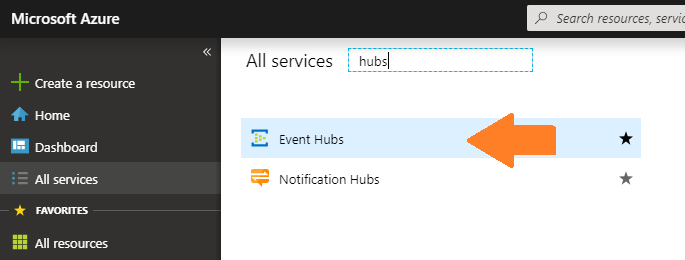
- In the Azure Dashboard go to Event Hubs console.

- Create a new Event Hub namespace or use existing one.
- Create an Event Hub instance (e.g. "tina-events").
- Within the newly created instance: Go to Shared Access Policies.
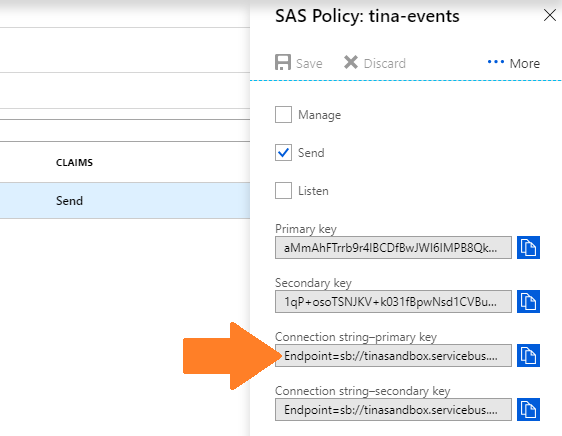
- Add a new policy with name (e.g. "tina-publisher") and select the "Send" option.

- After creating the policy copy the "Connection string–primary key" you'll need it.

- On myDevices, click on Integrations and add a new "Azure Event Hub" integration.
- Paste the connection string from step 6 into the "Connection String" field.

- Save the integration. At this point every event should be going to Event Hubs.

 After saving the Integration, you will see it shown in your list of integrations.

- You can then edit the integration to make any changes needed.
- You can also toggle the Integration on/off at any time from here as well. Disabling the integration will stop new data from being sent to the webhook.
Verifying things are working
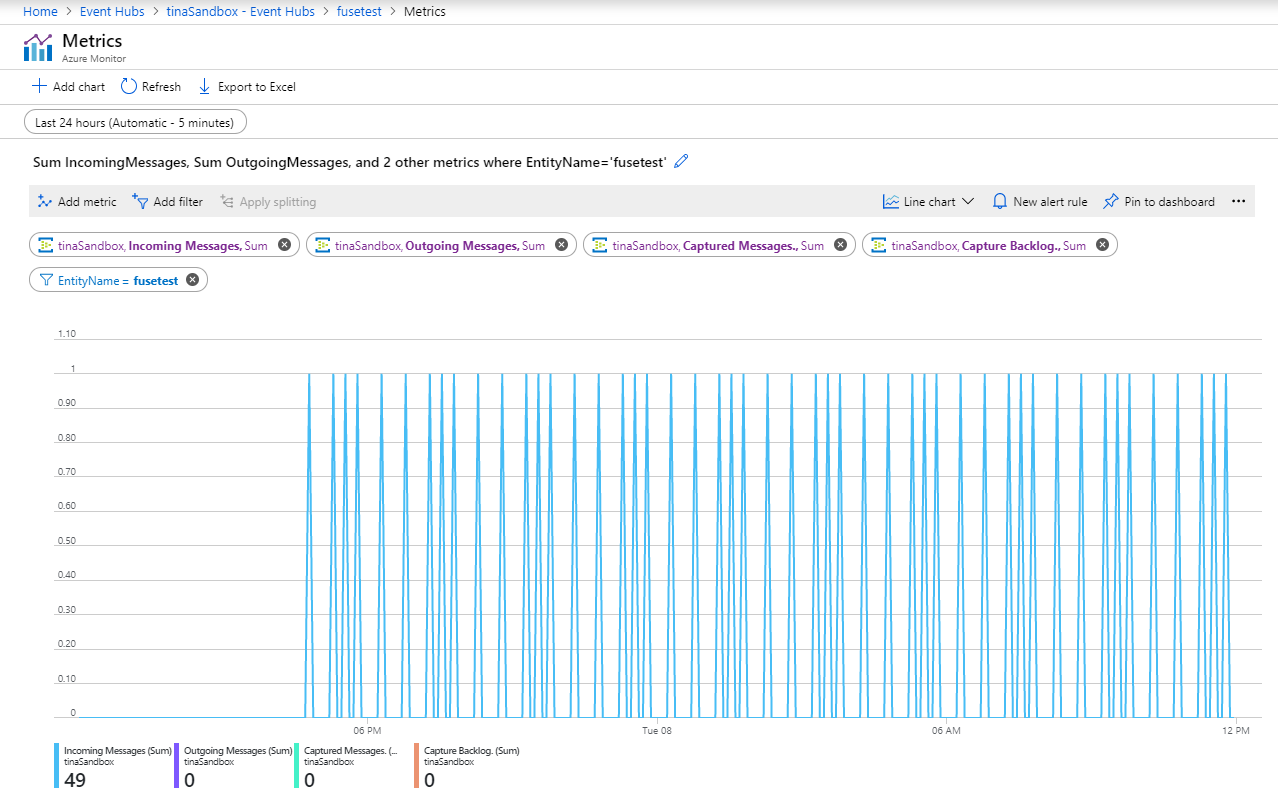
There are couple of ways to verify that data is getting transferred. The simplest approach is to look at the Event Hub dashboard's charts - specifically the "Messages" graph and filtering by messages sum. You may also configure a "Capture" event to save data into Azure cloud based file storage.
