Google Cloud Storage
Connect with Google's Cloud platform to have your IoT device and alert event data sent to a Storage bucket.
 Please Note: The process shown in the video has been slightly updated. To enhance security, we now ask that you enter in a private key for a Google Cloud Storage service account with permissions to write to your storage bucket. The instructions below have been updated to cover this process.
Connecting to Google Cloud Storage
Use the following steps to setup the Google Cloud Storage Integration.
Get your Cloud Storage bucket & key
- Log into your Cloud Storage account.
- Locate the Bucket you'll be using: Go into your project and locate the bucket that you will use to store your IoT data. Make note of the bucket name as you will need it when creating the Integration.

Setup your Service Account Key:
In this step we will setup an account key which will then be used by the Integration so that it can access your bucket.
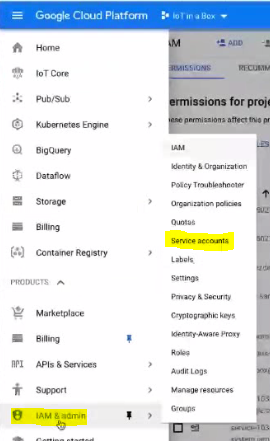
- In the Cloud console and go to IAM & admin and select the Service accounts option.
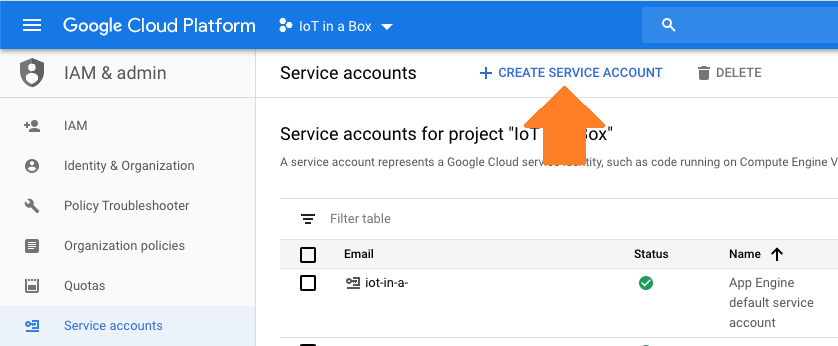
- Click on Create Service Account.
- Give the account an appropriate Name and description. The Service account ID will be generated automatically for you during this step - you can leave it as the default.
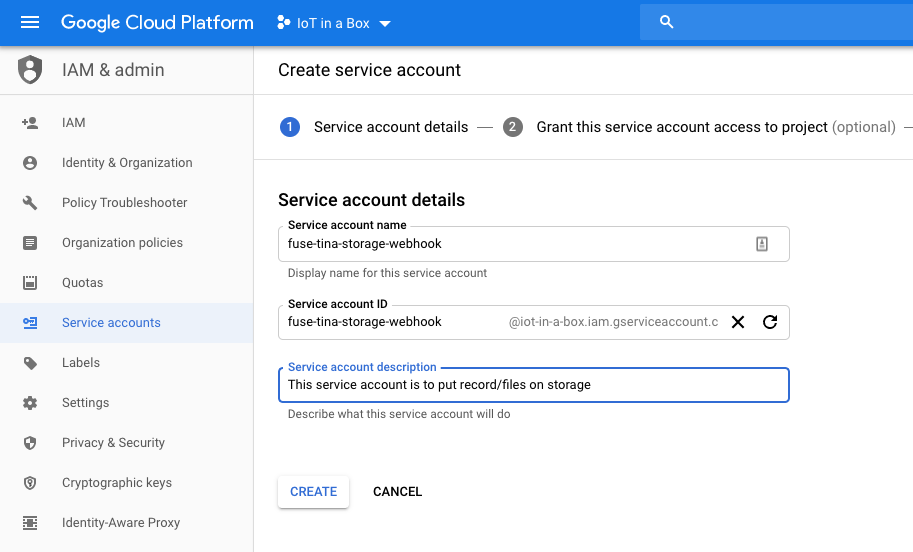
 Click Create to create the service account and continue.
- On the Permissions screen that appears, give the account an appropriate permission (such as Storage Object Creator) so that it can access & create objects in cloud storage.
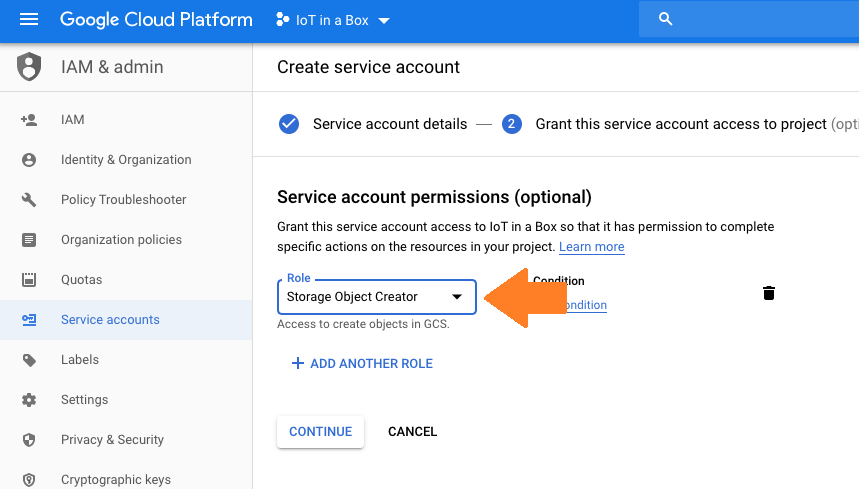
 Click Continue and then Done to complete creating the service account.
- Locate the Service account you created, click on the 3-dot menu and select Create Key.

- In the popup that appears, you can leave it as JSON and click Create. This will download a json file containing the private key information that we need when setting up the integration.
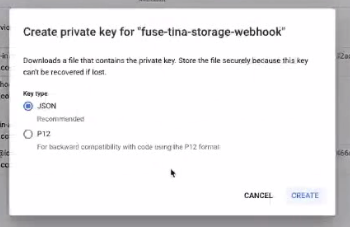
- Open the downloaded json file. You will need to copy the entire contents from this file when asked during integration setup.

Create the Integration
Log into your account on the myDevices portal.
Select the Integrations option and then select the Google Cloud Storage integration.
Enter the following information to complete the integration:
Name: Enter a name for this integration. In case you have multiple integrations, this will help uniquely identify it in the list.
Bucket: Enter the name of your Storage bucket, as obtained above.
Service Account Key: Paste the entire contents of the service key file, as obtained above.
 Paste the entire contents of the json private key file here.
 After saving the Integration, you will see it shown in your list of integrations.

- You can then edit the integration to make any changes needed.
- You can also toggle the Integration on/off at any time from here as well. Disabling the integration will stop new data from being sent to the Storage bucket.
Verifying things are working
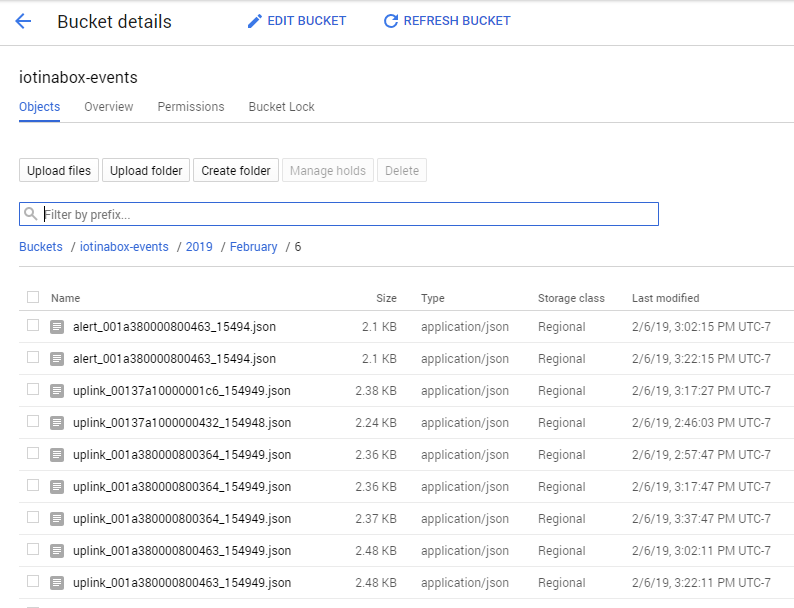
You can verify the integration is working by logging into the Google Cloud Console and viewing the bucket records.
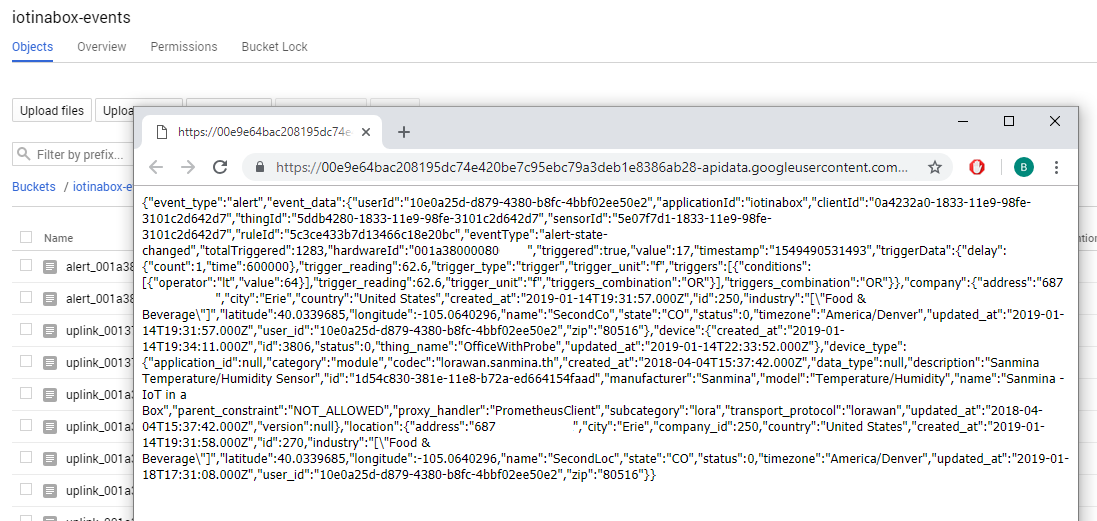
 Note: Data is logged in reading and alert records, one for each new event. You can open each entry to find the event details, recorded in JSON format.
