Azure IoT Central
To setup this integration follow the steps below to configure IoT Central event on the Azure cloud.
Note: This integration requires a valid Microsoft Azure account.
Creating a new Azure IoT Central integration
Use the following steps to setup a new Azure IoT Central integration.
Create a new device in Azure IoT Central
- Log into your Azure IoT Central account and open your application.
- Select IoT devices.
- Select New to start creating a new device.
- Give the device a name and select Save.
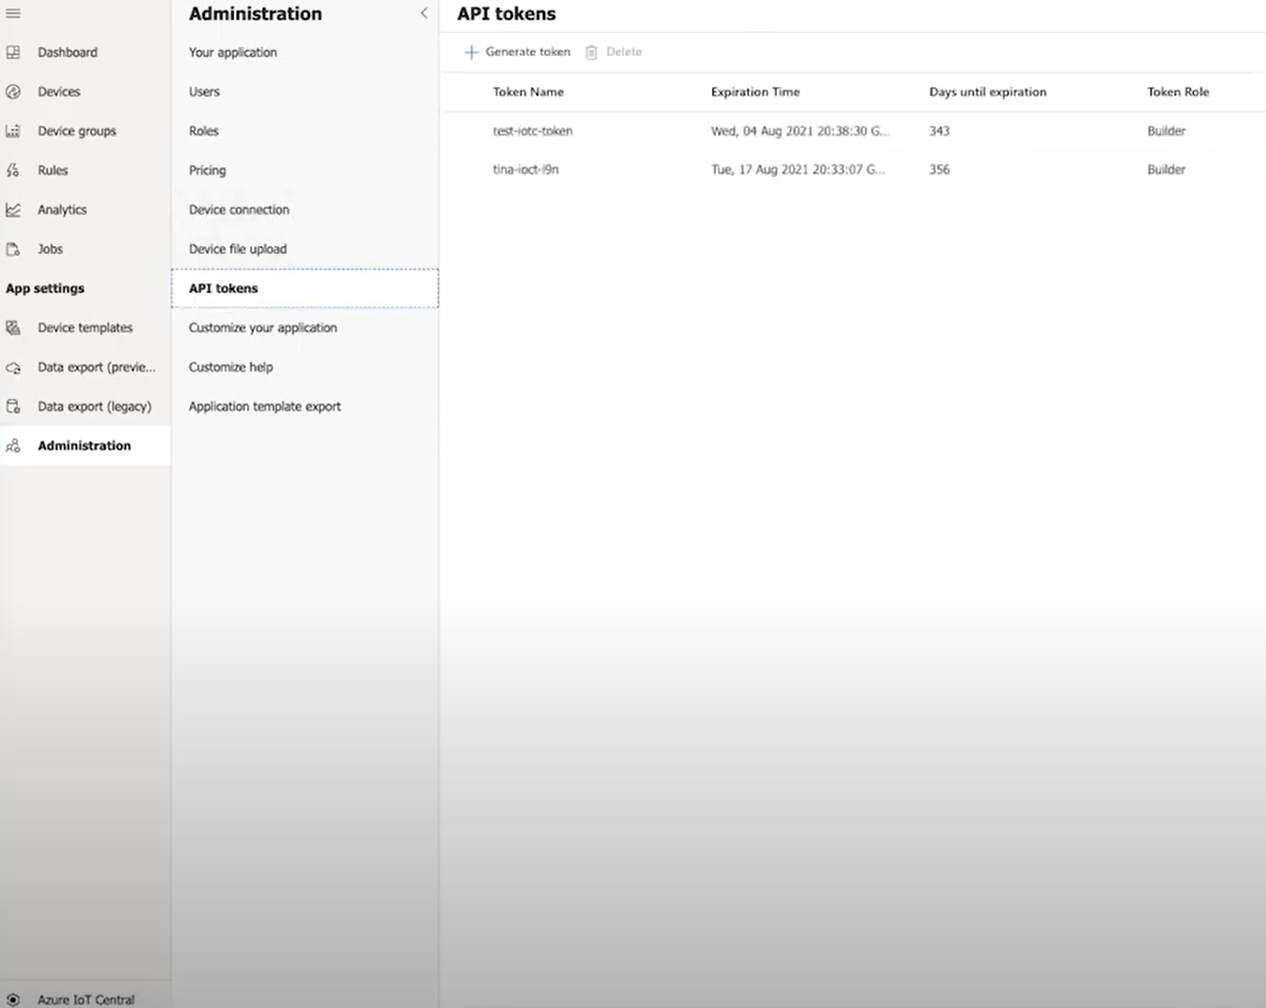
Get the Credentials
- Login to your IoT Central account.
- On the screen that appears, under App Settings and under Administration,you will find all the neccesary credentials when creating the integration in your account.
Add integration in your myDevices account
- Log into your myDevices account on our portal.
- Select the Integrations option and then select the Azure IoT Central integration.
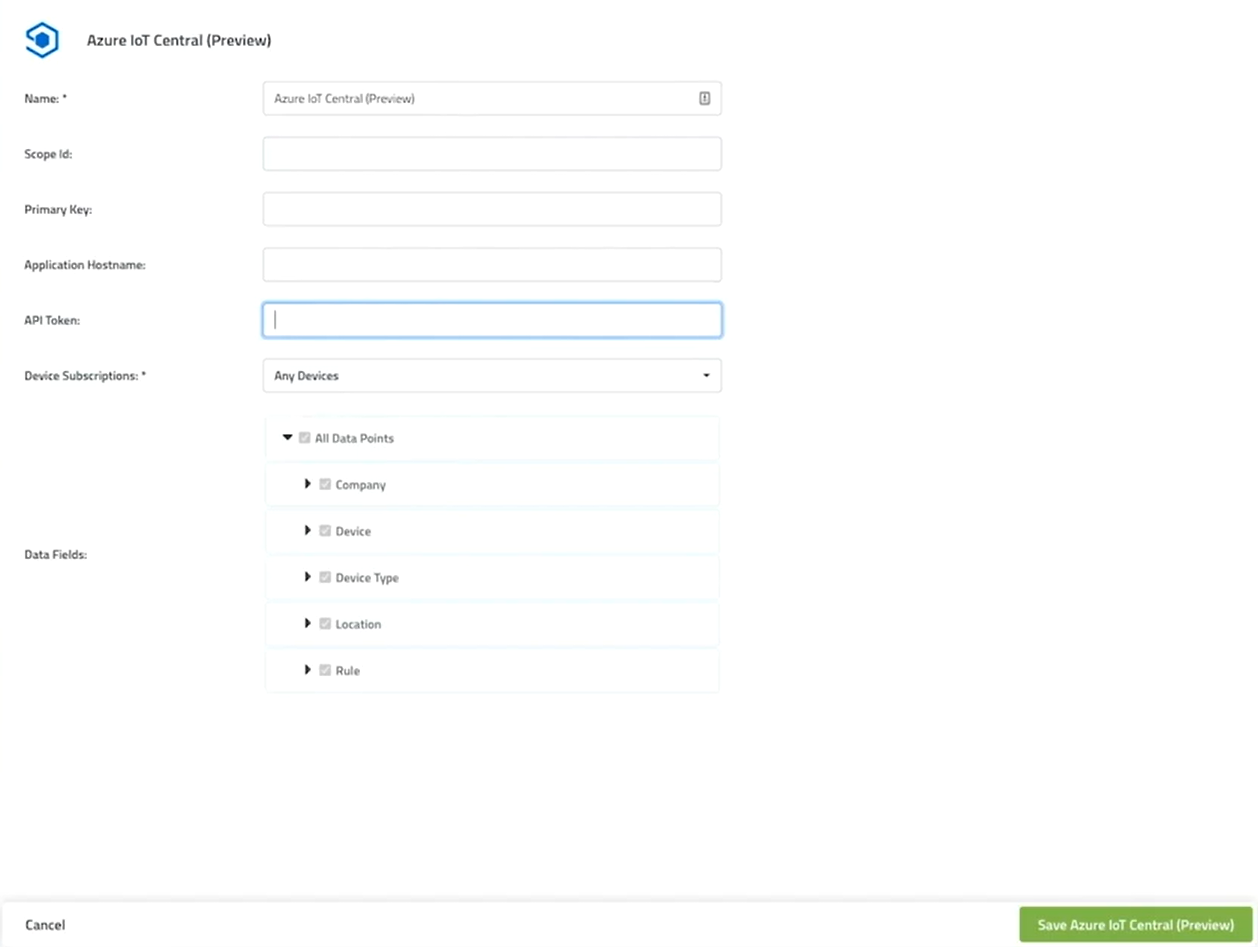
- Enter the following information to complete the integration:
- Name: Enter a name for this integration. In case you have multiple integrations, this will help uniquely identify it in the list.
- Scope Id: Enter the Scope ID for the integration.
- Primary Key: Enter the Primary Key (Found under Administration).
- Application Hostname: Enter a hostname for your application.
- API Token: Enter the API Token (found under Administration).
 After saving the Integration, you will see it shown in your list of integrations.

- You can then edit the integration to make any changes needed.
- You can also toggle the Integration on/off at any time from here as well. Disabling the integration will stop new data from being sent to IoT Central.
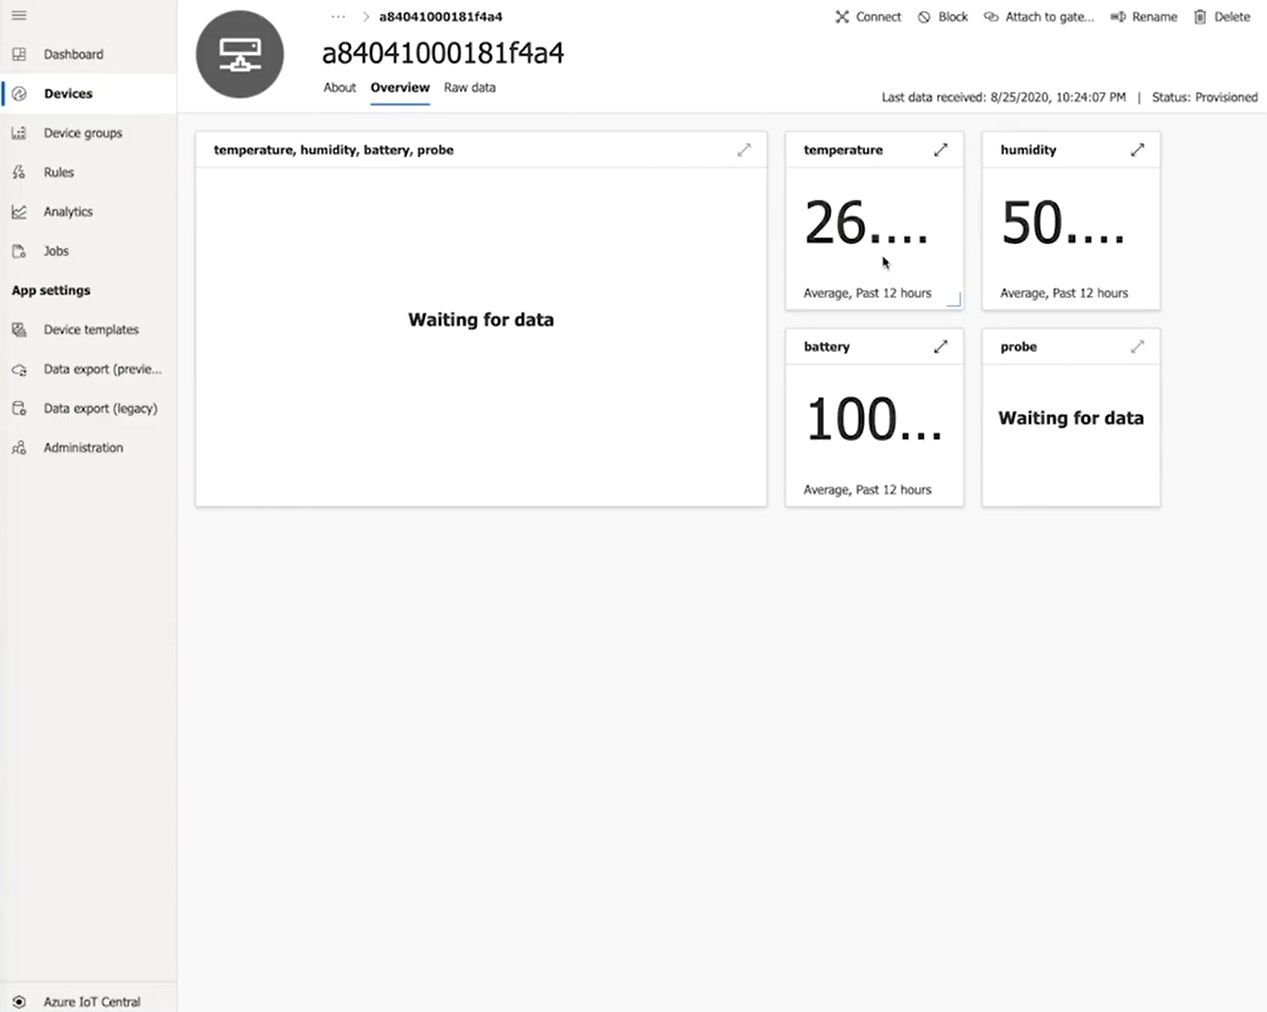
Verifying things are working
You can verify the integration is working by opening your Azure IoT Central and viewing the metrics.