Salesforce
The Salesforce Integration allows you to send uplink data to the Salesforce platform in response to events within your myDevices account.
Note: Currently we support sensor readings event, we'll be adding more events over time.
Creating a new Salesforce integration
Note: The steps listed here are for Salesforce's Lightning UI. The menu locations may differ if you are using the Classic view, but the steps to accomplish are the same.
- You will need a Salesforce account. If you do not already have one, click here and create one.
- Login to your Salesforce account and then go to Integrations > Platform Events.

From the Platform Events screen, select New Platform Event and fill out the fields necessary to create a new event.
Label(s): Enter any name you want for the event.
Object Name: Enter "Iot_Reading".
 Be sure to enter this as shown or the integration may not work.


After saving your event you will see its details screen. For the integration to work, you need to setup several Custom Fields to fit what is sent from myDevices.
Be sure to create the fields as shown or the integration may not work.- name - text - length 50
- device_id - text - length 50
- user_id - text - length 50
- time - text - length 20
- hardware_id - text - length 50
- sensor_id - text - length 50
- type - text - length 50
- unit - text - length 15
- value - text - length 15

- Within myDevices, go to Integrations and begin adding a new Salesforce integration.
- After clicking on Authorize Salesforce you will be prompted to sign into Salesforce. This will connect myDevices to your Salesforce account.

After completing the Integration, you will see it shown in your list of integrations.

- You can then edit the integration to make any changes needed.
- You can also toggle the Integration on/off at any time from here as well. Disabling the integration will stop new data from being sent to the Salesforce.
Verifying things are working
Salesforce platform events are very powerful tools, with them you can build complex Salesforce applications and your own alert system within Salesforce with them. However they are quite an abstract thing, so you can't visualize them directly. Below, we will go quickly over an example of creating a custom object, trigger and finally exporting our IoT data to a file we can then examine.
- Within Salesforce, create a new Custom Object in the Object Manager.

- For our example, we will call our custom object "Reading" and we can use it later by referring to it as "Reading__c" when we write our trigger code.

Add some additional fields to the Reading__c object so that we can capture some of the sensor data in our output.
Hardware_id - text - length 50
Sensor_id - text - length 50
Unit - text - length 15
Value - text - length 15
Refer to the Salesforce setup documentation shown earlier for more details on fields available and their requirements. What's shown here is just an example.

- Once you have your field list ready, go to the platform event created earlier and open it for editing. In the Triggers section click the new button.

- In the code editor that appears, we enter the following code and save the trigger.
trigger IoTBReadingInsert on IoT_Reading__e (after insert) {
List<Reading__c> toInsert= new List<Reading__c>();
for(IoT_Reading__e reading : Trigger.new)
{
    toInsert.add(
        new Reading__c(
        Name = reading.name__c,
        Sensor_Id__c = reading.sensor_id__c,
        Unit__c = reading.unit__c,
        Value__c = reading.value__c,
        Hardware_id__c = reading.hardware_id__c)
    );
}
insert toInsert;
}
To visualize the data of the created object, we will just export our account data. This will allow us to open the sensor data as a file that we can examine.
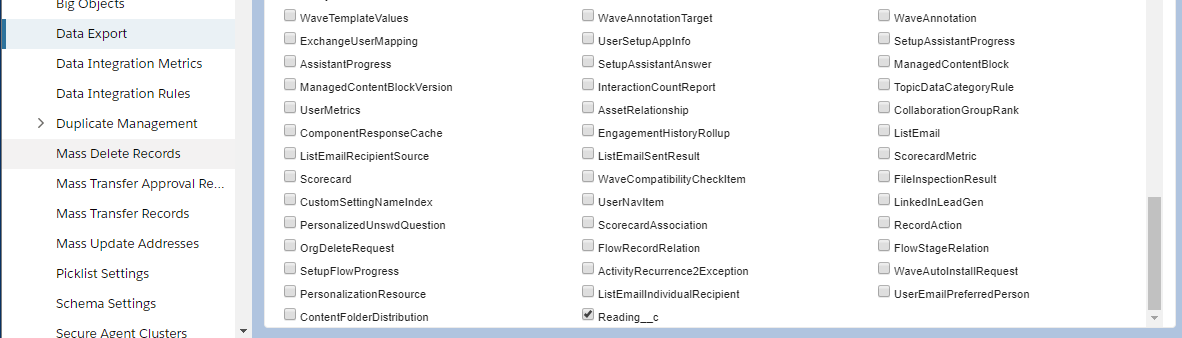
We will simply use the Data Export tool in Salesforce, making sure that our Reading__c object is selected for export.

After Salesforce exports our data, we can then open the .csv file sent to us and we will see our IoT sensor data shown.
